This tutorial on digital capacitive load cell systems aims to give a brief overview of the configuration of the Alfa Laval 5024 system to help users get the most out of their system and to provide instructions on the weighing terminal’s main operating screen.
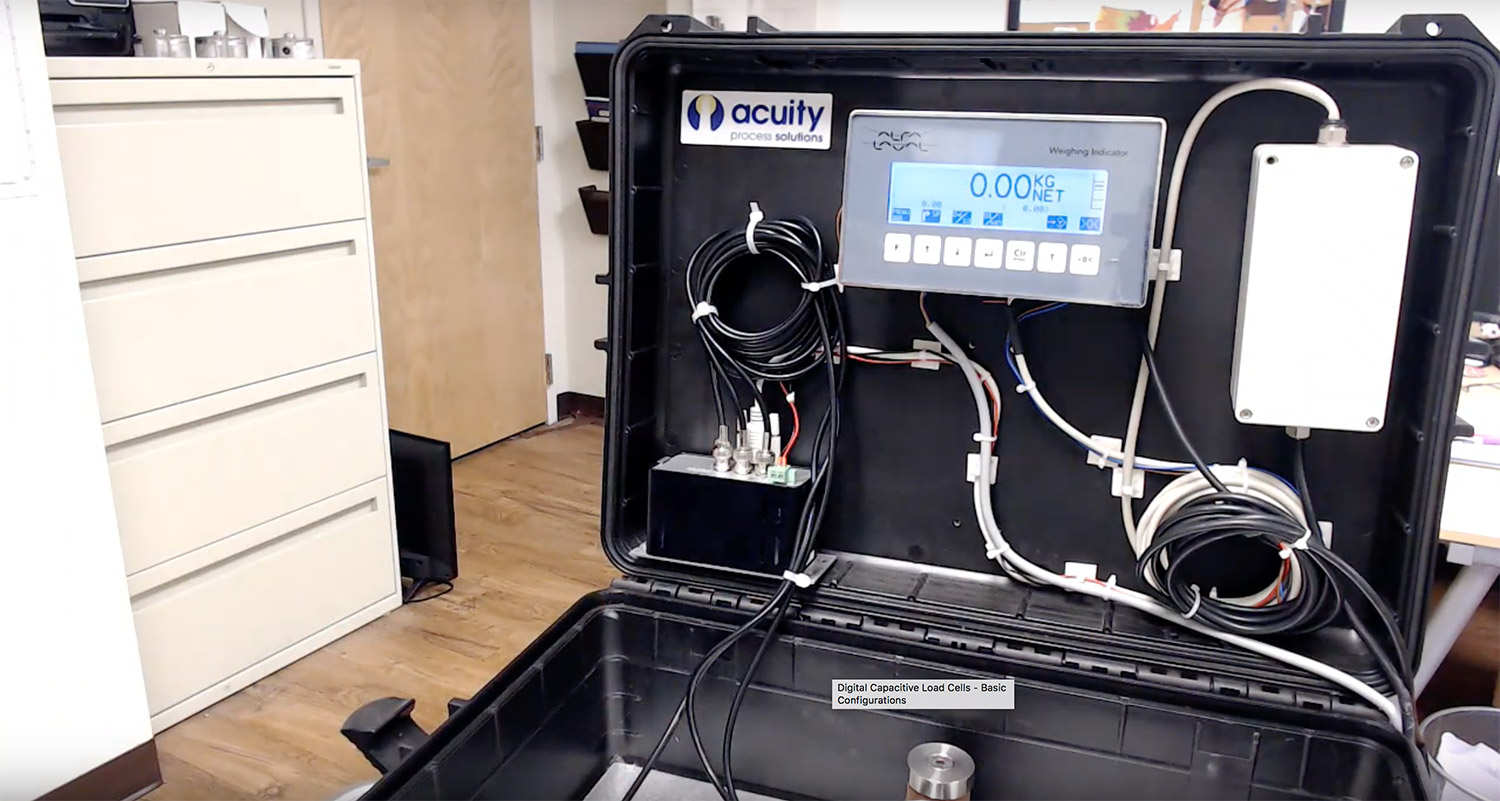
1. This overview of an Alfa Laval capacitive load cell system describes one which has been setup in a briefcase to use as a display. As seen in the photo above, the lid of the briefcase contains the measuring system’s display, the power system, and the weighing module.
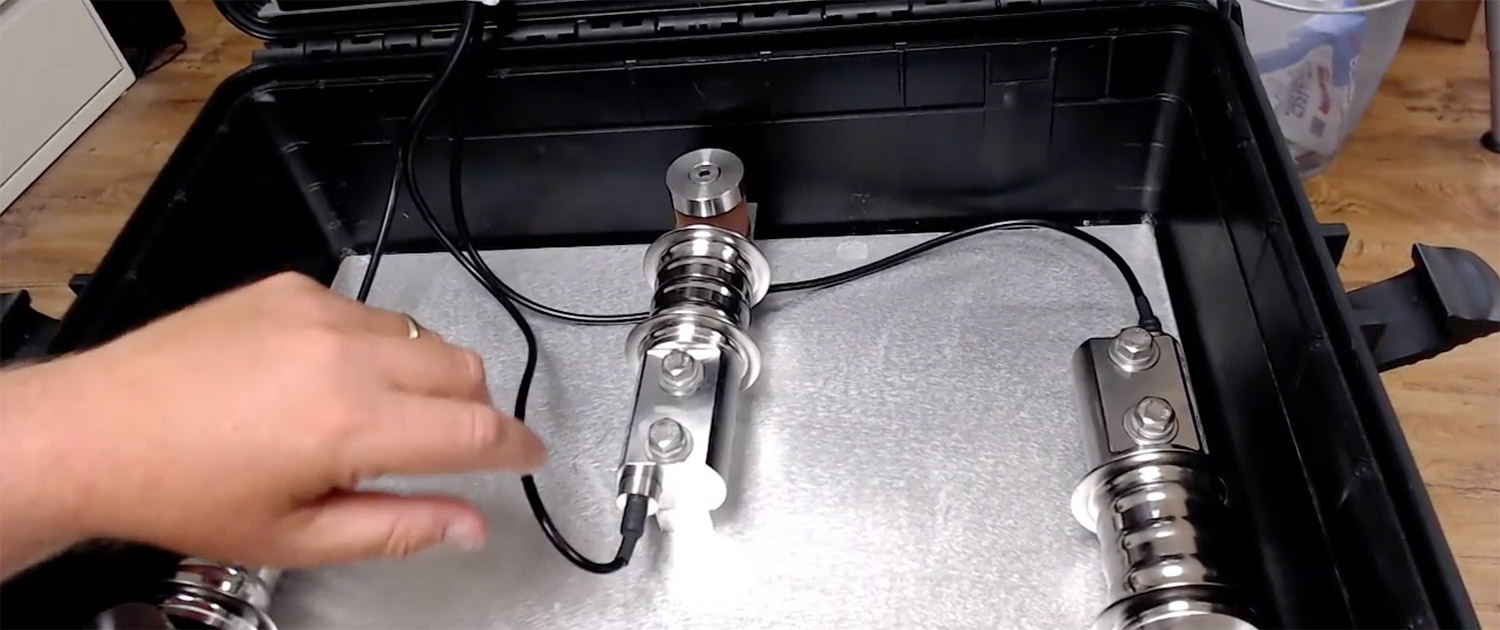
2. At the bottom of the briefcase, there are three Alfa Laval load cells. They are connected to the weighing modules using coaxial cables with BNC connectors, which can be attached with a common crimping tool.

3. The weighing module collects data from the three load cells and then transmits it to the display.
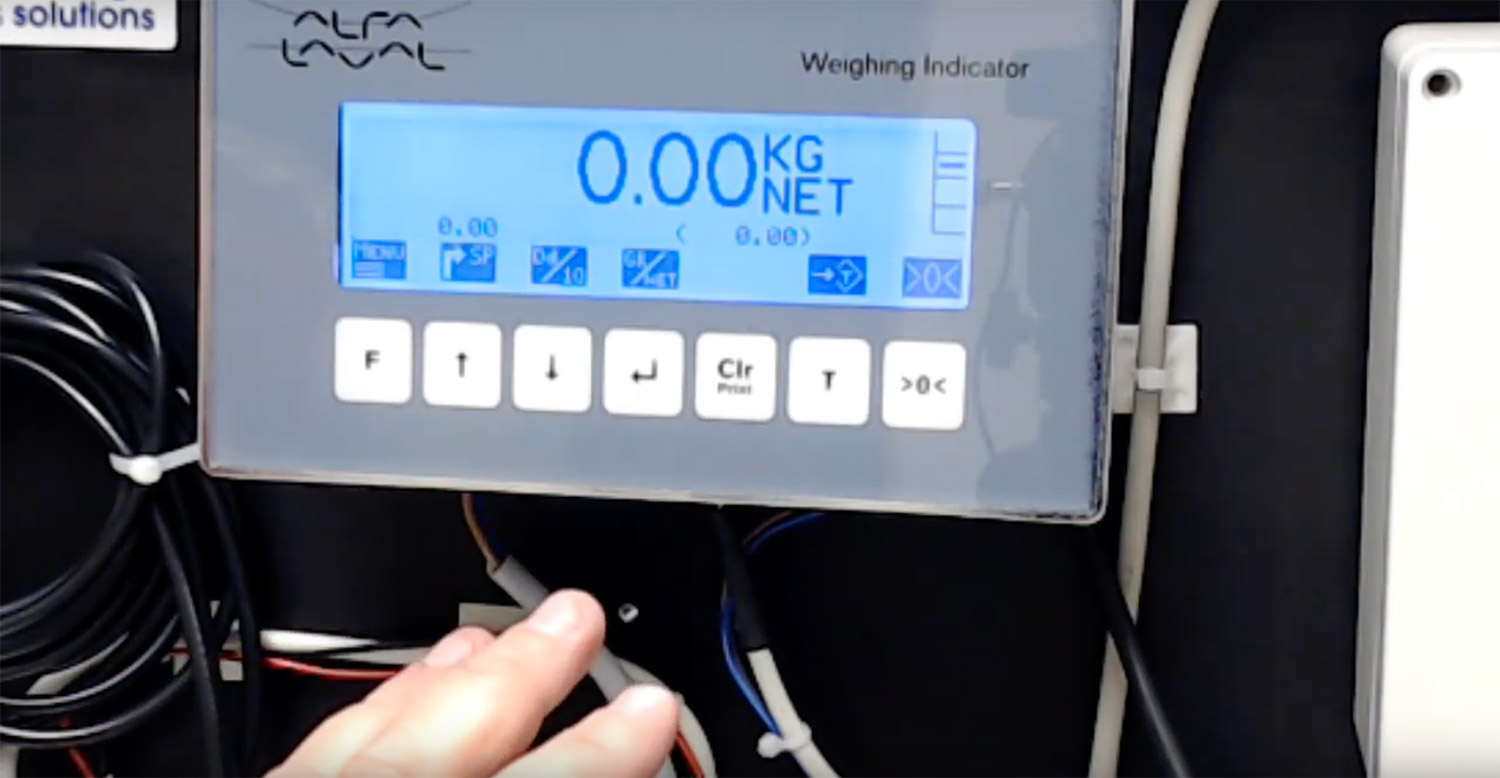
4. The screen is a touch screen, and the seven squares along the bottom are soft keys, meaning the keys have different functionality depending on what screen is currently being utilized. The screen being described here is the home screen, shown above.
5. The first key is the menu key, and that is the case in almost all of the different screens. It is the key that users will use the most.
The next key, the ↑, is used for dosing applications. This enables the user to control the fill, starting with a fast fill and then slowing it down as the vessel begins to approach full.
The third key ↓, increases the resolution by a factor of ten. This can be helpful in troubleshooting a problem. It takes it out an additional decimal place temporarily and then returns to the standard format. It allows the user to find out what is happening in the system.
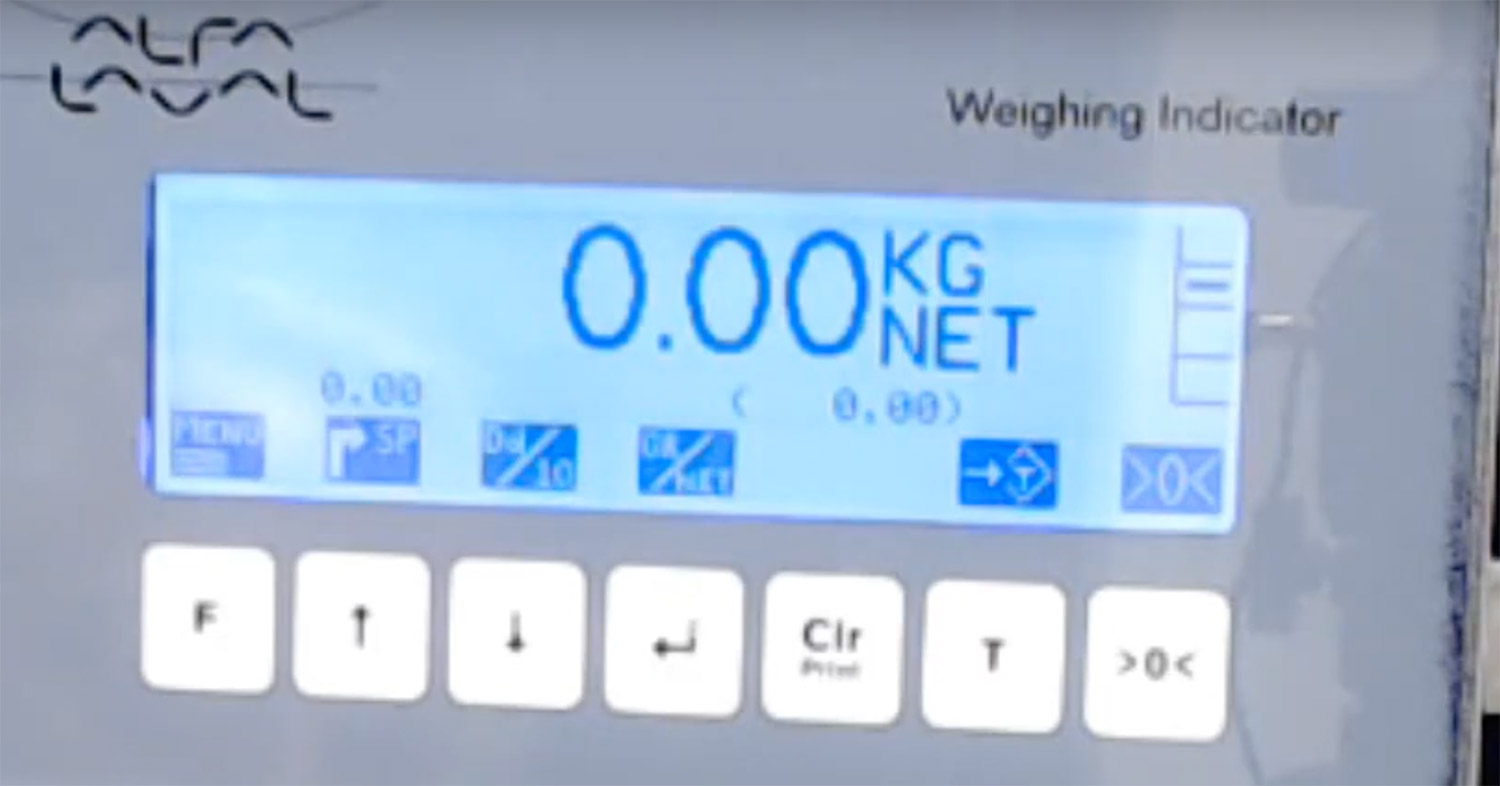
The key in the middle, above the ← is gross/net. By pressing on the soft key and using it in conjunction with the tare key T, users can toggle between seeing the gross weight of all items or just the net weight of an added product/liquid. This is helpful when doing batches or liquid additions to a system, allowing users to measure incremental additions.
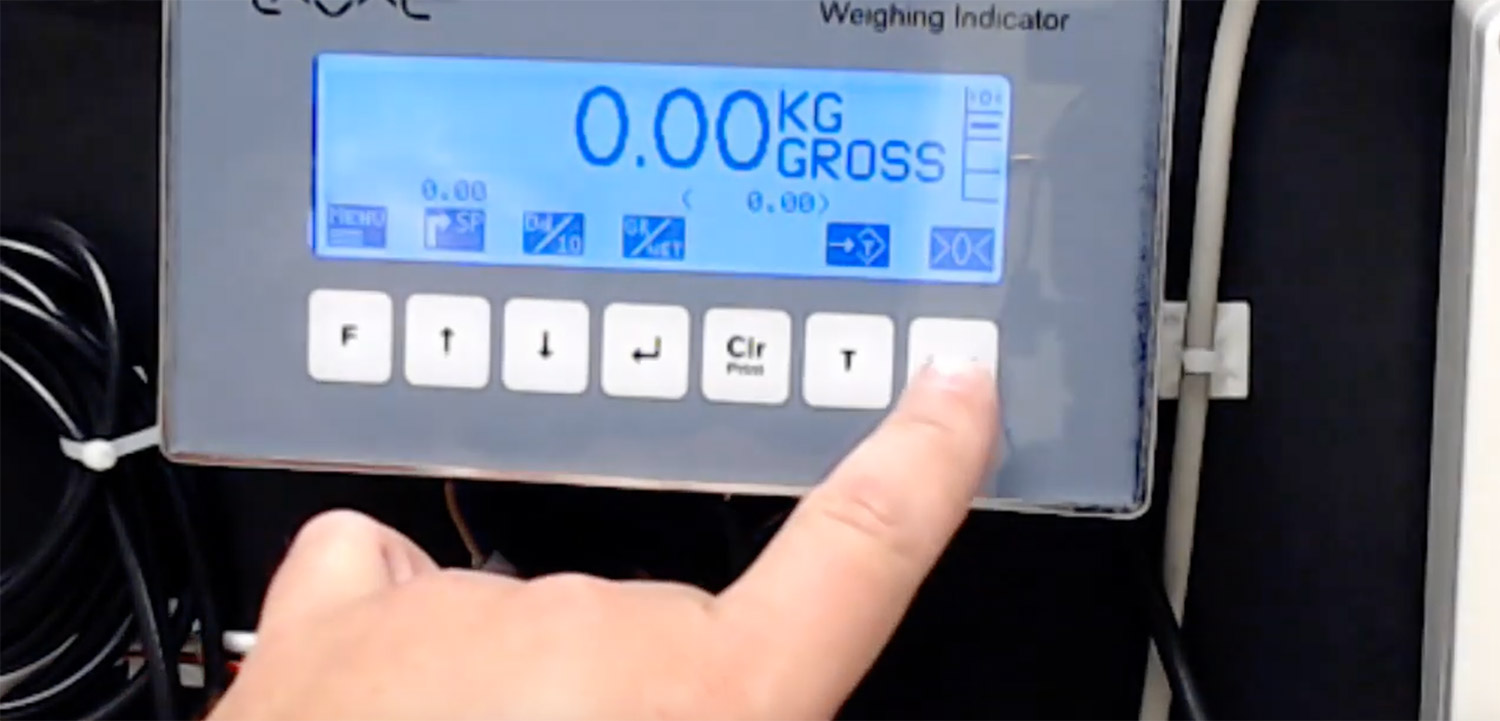
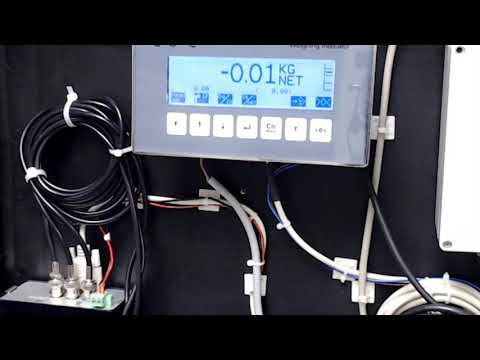
6. The last button is the zero; the display is zeroed out when pushing this number. There are four boxes on the upper righthand side. When the system is zeroed out, there will occasionally be a zero on the upper left-hand side. The straight line that appears in the second box down from the top indicates that the system is stable. If the system becomes unstable, a squiggly line will appear in the box: see below.
7. The third box down from the top generally only has a symbol when a function happens: a ZT will appear, which means zero tracking. This allows the unit to scale back to zero when it meets certain requirements: those that the user sets.